
Three days of the Snowcone
If you’re looking for a movie reference, look no further. Yes, I’m referring to the Robert Redford and Faye Dunaway movie Three Days of the Condor. A not-so-spy type has to hide from internal assets trying to eliminate him. Good movie. Very 70’s.
This is a deep dive in to my three days with an AWS Snowcone unit. AWS Snowcone is a portable, rugged, and secure edge computing and data transfer device that enables you to collect, process, and move data to AWS. This comprehensive guide walks through the complete setup process, from ordering to data transfer using both NFS and DataSync methods.
Ordering and Delivery
As of Nov/2024 the Snowball device has been discontinued: AWS Snow device updates
- Ordered: December 10, 2023
- Shipping Label (UPS) created: March 27, 2024
- Shipped: April 3, 2024 from Hermiston, OR
- Arrived: April 4, 2024
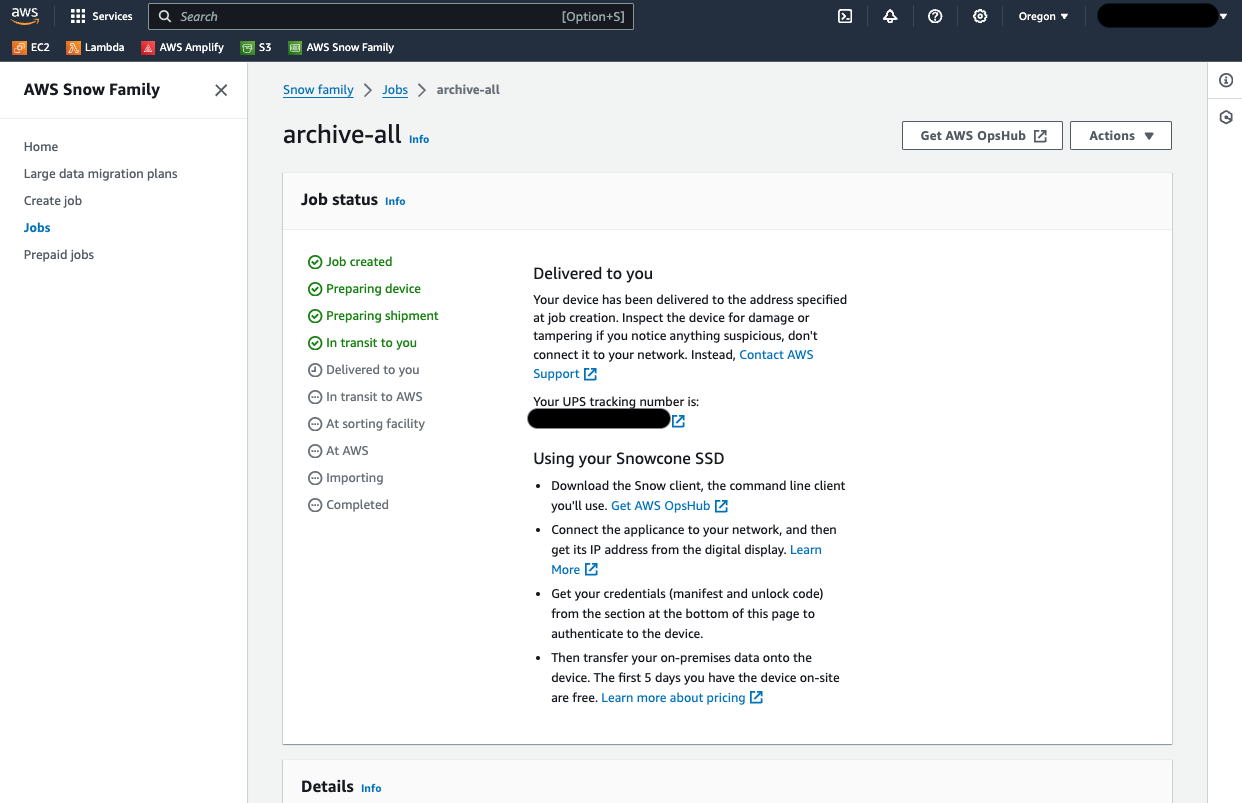
After receiving, the console still showed “Delivered to you”, but still in transit on the left:
Performance and Cost Considerations
On a 1Gbit connection without additional optimization (e.g., jumbo frames), an average speed of 90MB/s was achieved. It’s important to determine the transfer speed as soon as the transfer starts to calculate how long the device will be needed and the resulting cost.
Cost Structure:
- Snowcone SSD: $150 (includes 5 days for data transfer)
- Additional days: $15/day after the included five days
- At 90 MB/s: approximately 7.8 TB/day transfer rate
- Snowcone SSD capacity: 14 TB useable storage
- Time to fill capacity: approximately 2 days at 90MB/s
Setup Process
1. Power Up and Connect to LAN
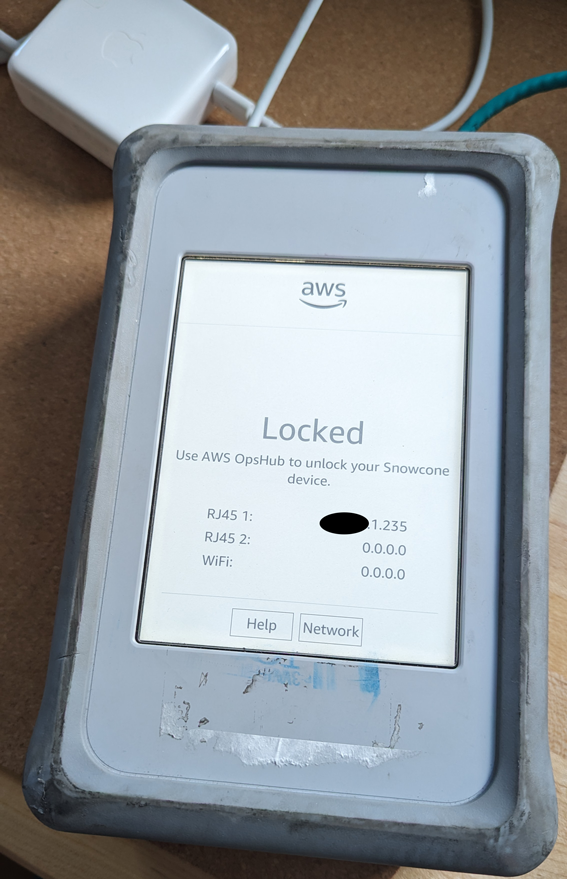
The Snowcone device was powered up using a 61W USB-C power source and connected to the LAN using DHCP. It will show Locked and the IP address on the display:
2. Download OpsHub for Snow Family
The OpsHub application is used to unlock and configure the Snowcone. Download it from: AWS Snowball resources.
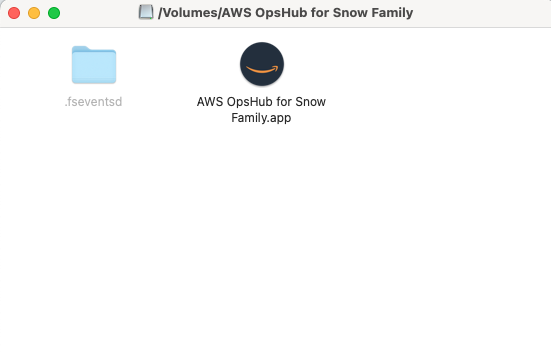
Once downloaded, open the Applications folder and copy the OpsHub app:
3. Get the Unlock Code and Manifest File
Both the Unlock code and Manifest file are required to unlock the device. These can be found in the AWS Console:
AWS Snow Family → Jobs → Select the Snowcone job
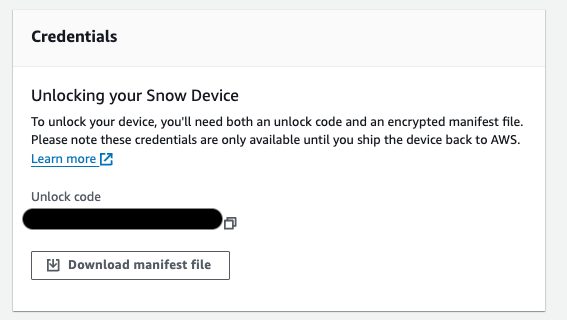
The Unlock code and Manifest file are at the bottom of the page in the Credentials widget:
4. Launch OpsHub
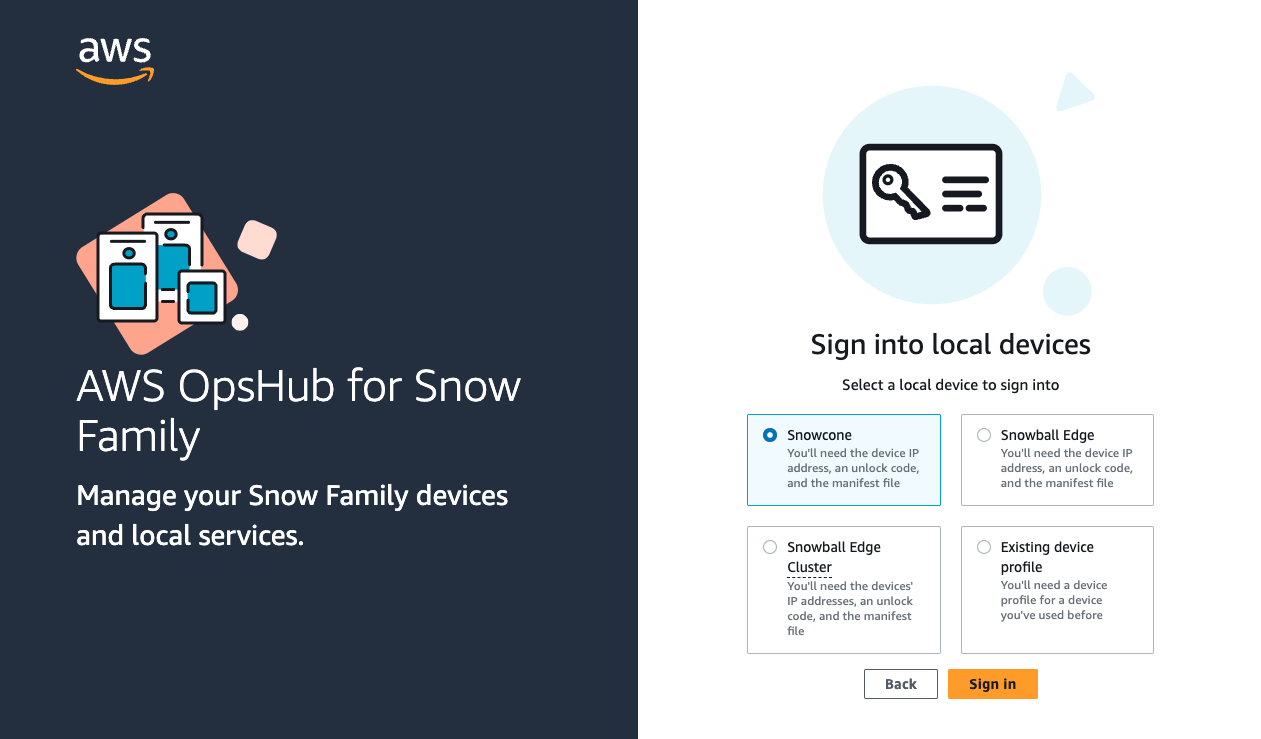
Launch OpsHub and choose Snowcone:
5. Sign In and Unlock the Device
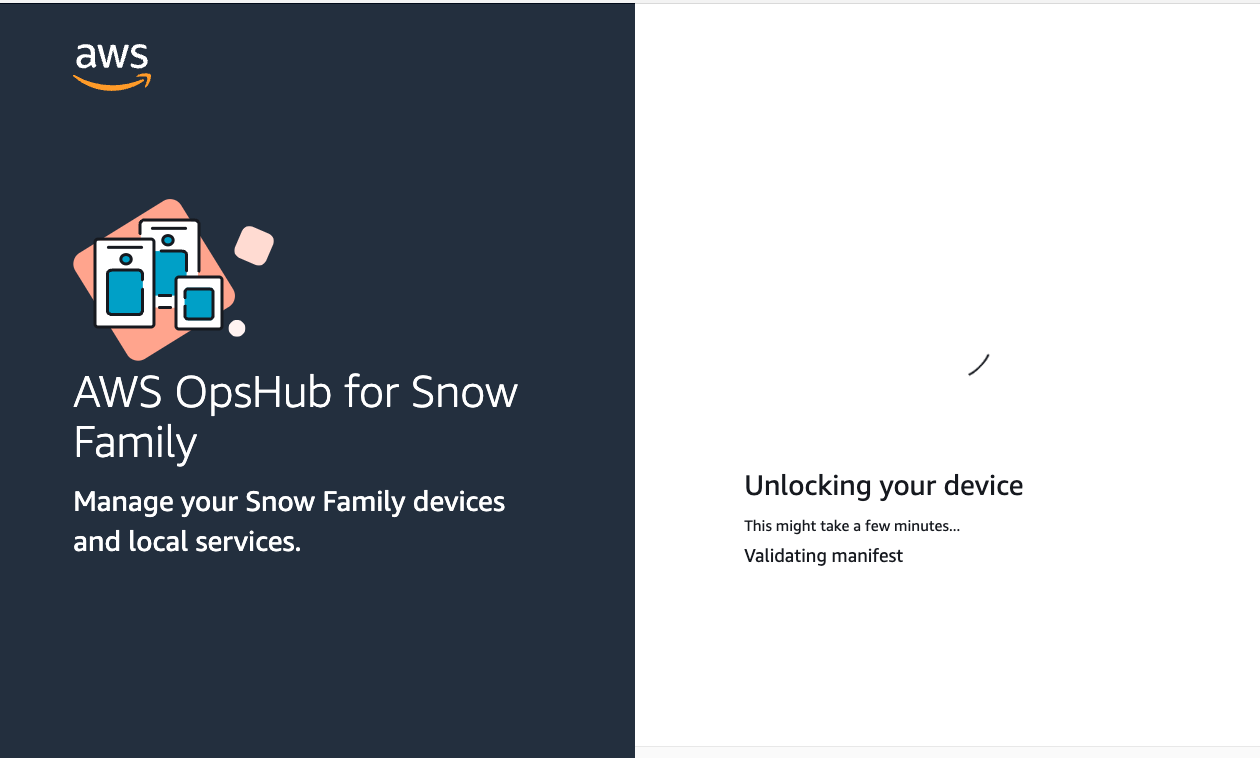
Click the Sign in button, and using the Unlock code and Manifest file, unlock the device:
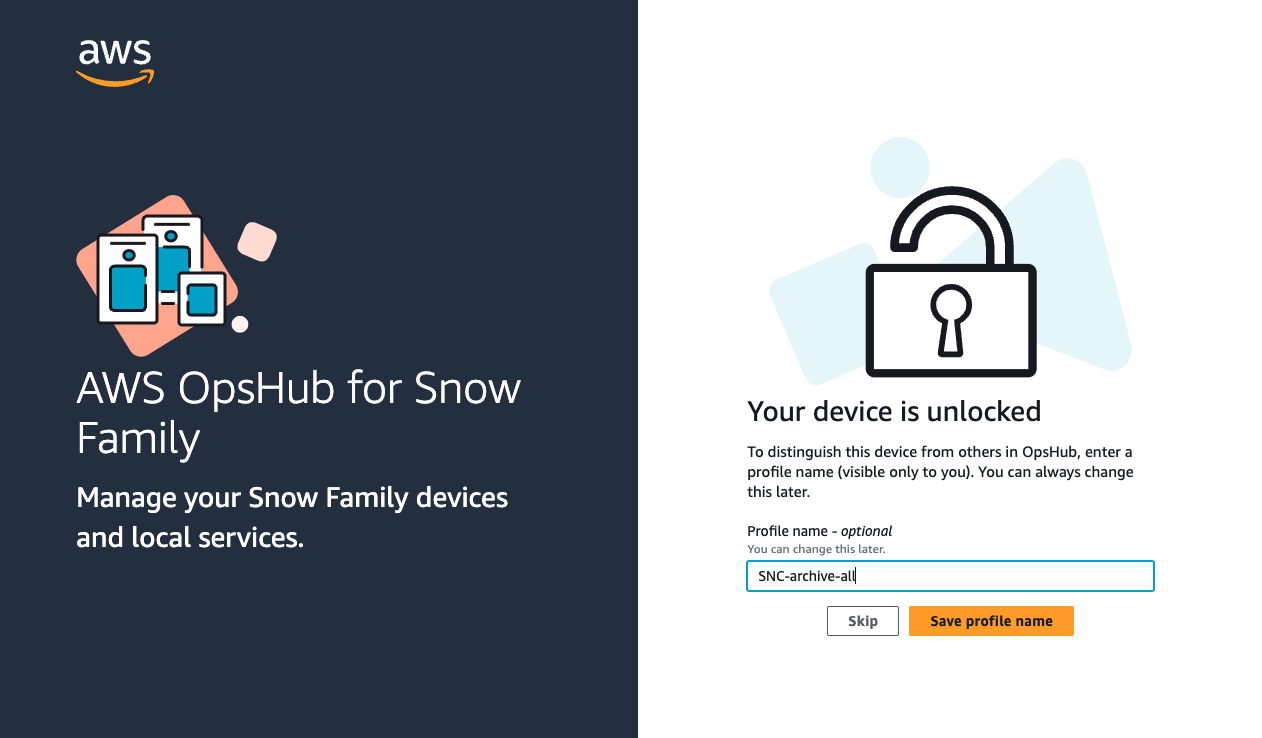
Optionally, choose a Profile name.
NOTE: If the Snowcone device was previously unlocked, using any of the previous Profile names will result in an error. Choose a different Profile name from previous unlock attempts.
Once unlocked, the OpsHub screen should display the device status:
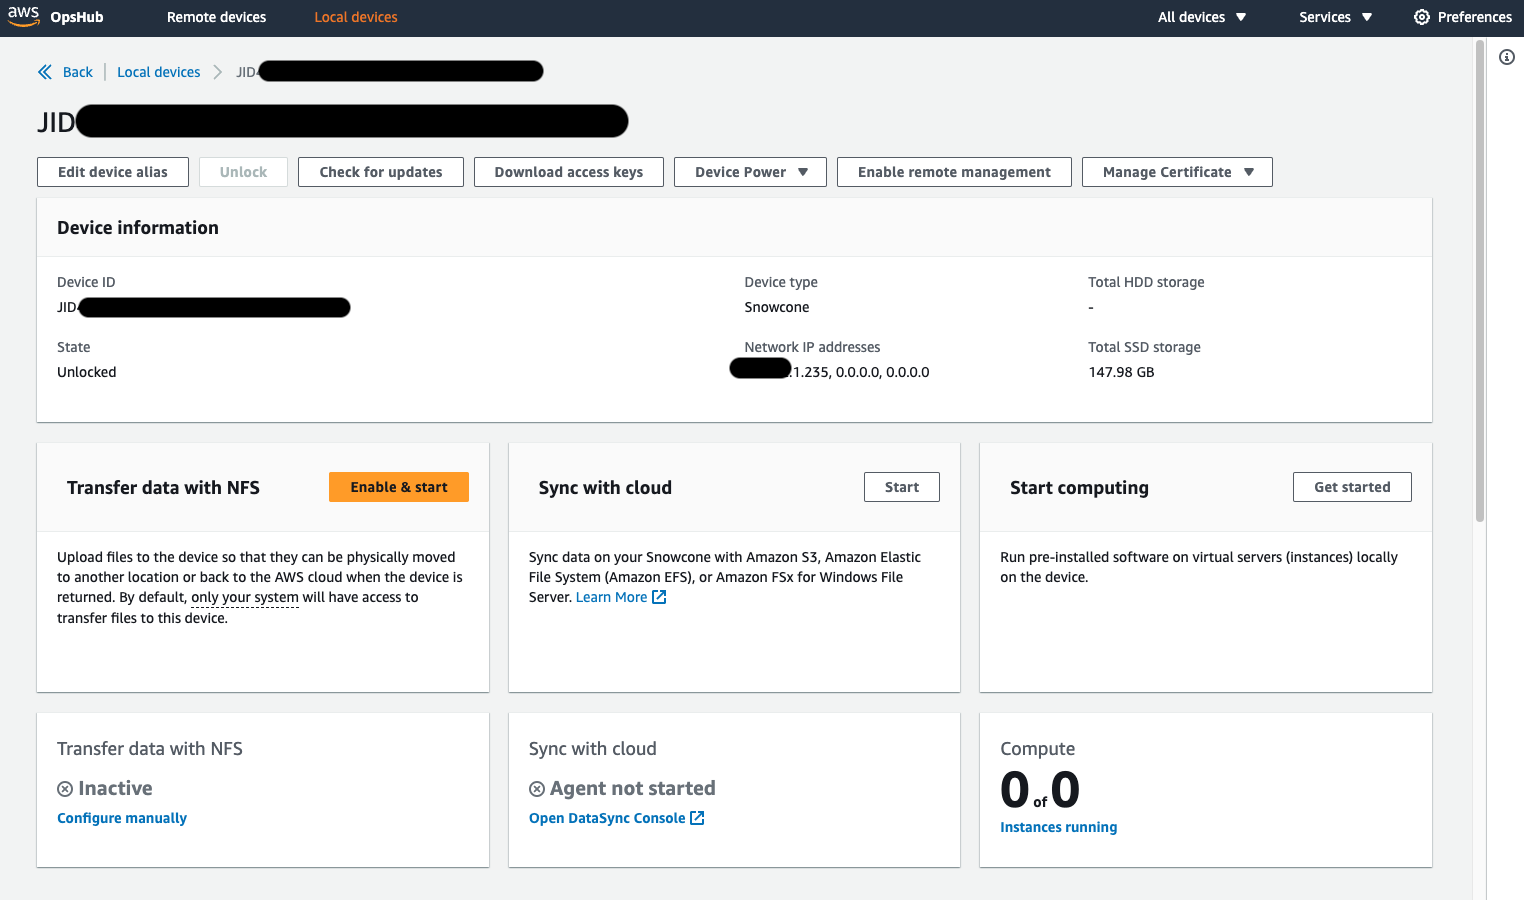
The Snowcone device is now ready for services to be configured and started.
Data Transfer to Snowcone (via NFS)
1. Start NFS for Data Transfer
In the Transfer data with NFS widget, press the Enable & start button. The setup should be automatic, but if prompted, use these settings:
- Create IP address
- IP Address assignment: DHCP
- Restrict NFS to allowed hosts: (use a restrictive CIDR block or one IP address)
- Allow instances on this device to access NFS: Enable
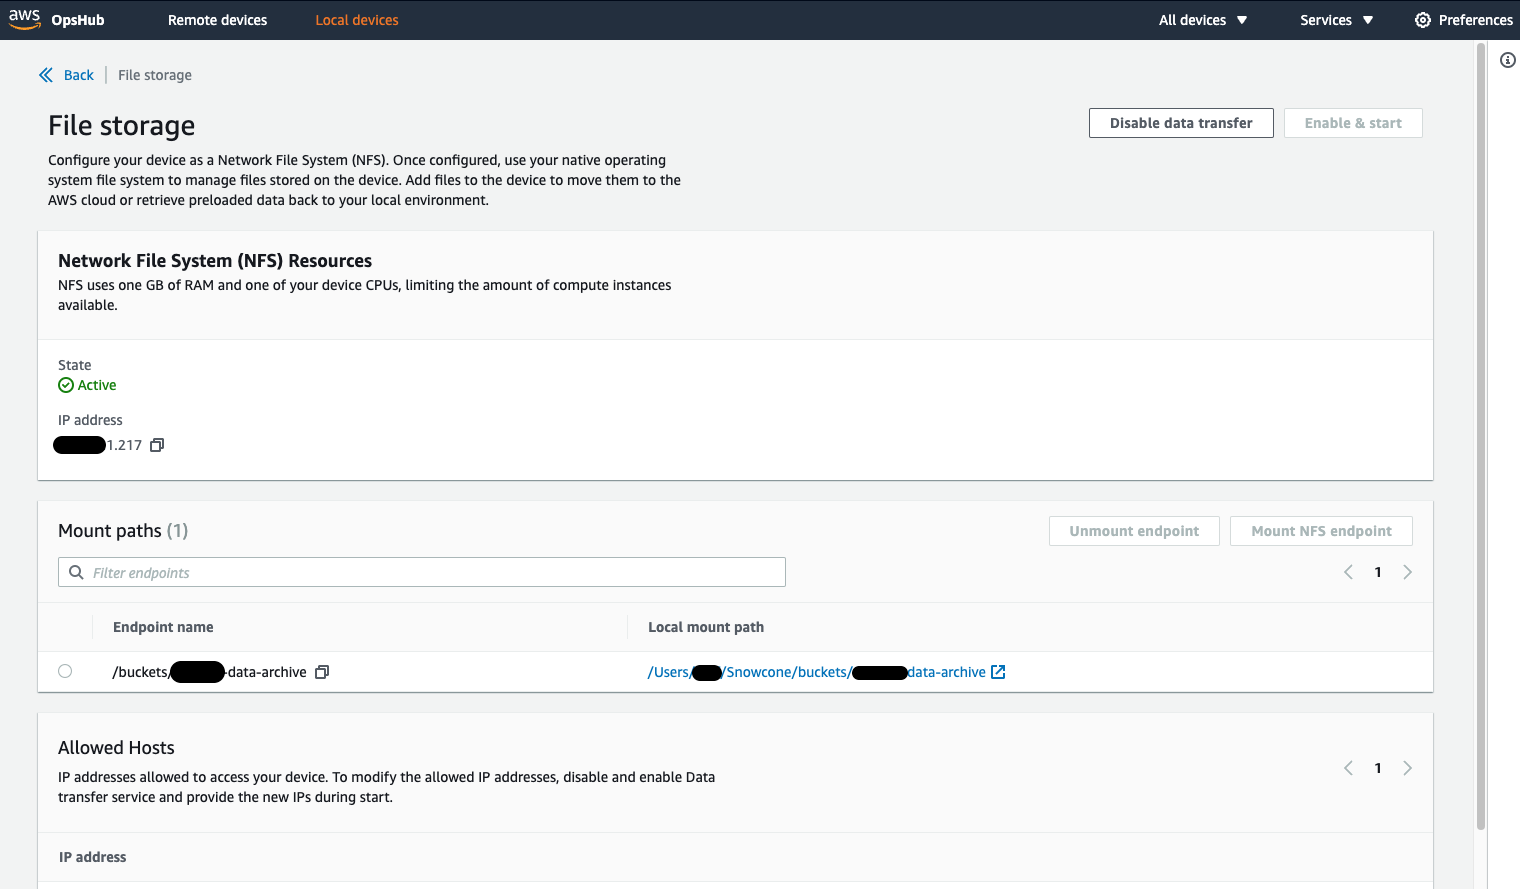
Verify that the Data Transfer service has started:
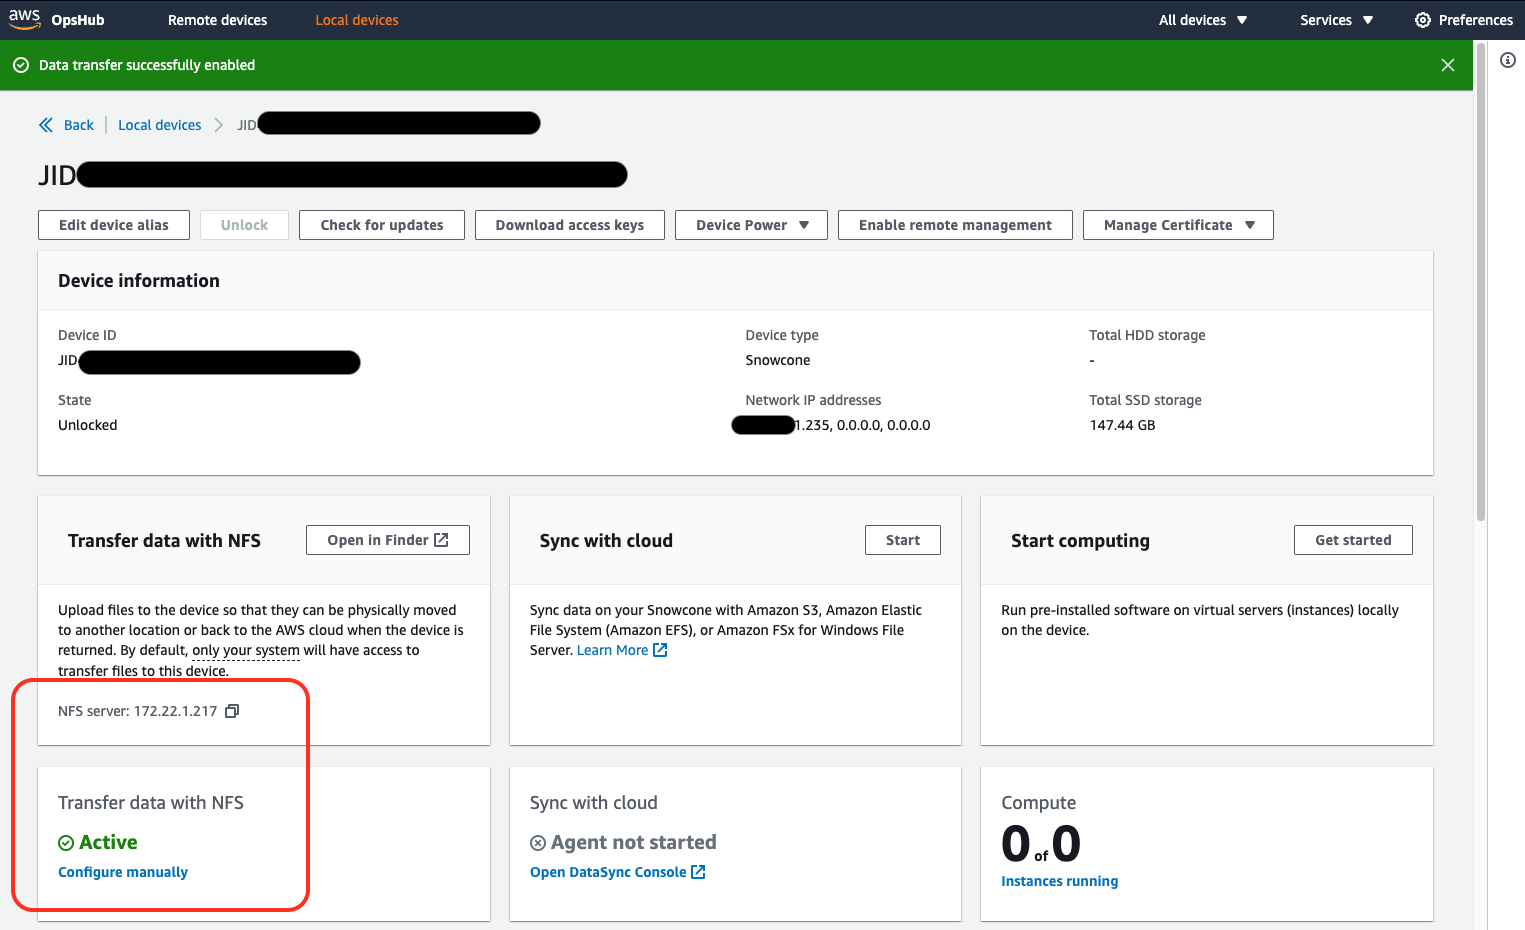
In OpsHub, in the Services section, click on the NFS Storage service. This provides the endpoint (S3 bucket for this example) and the mount point on the local machine:
After the NFS Service starts, the OpsHub app will launch a Finder window:
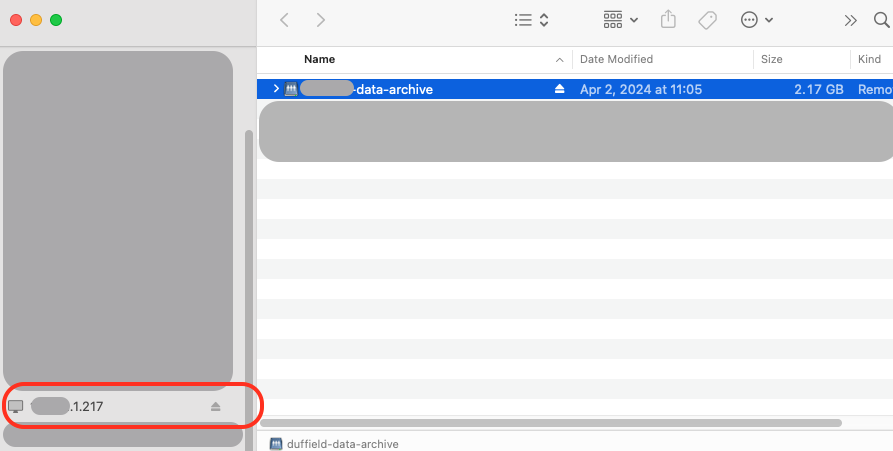
The NFS mount can also be seen at the command line:
The above shows that the Snowcone NFS export 192.168.1.85:/buckets/my-data-archive is mounted on /Users/myuser/Snowcone/buckets/my-data-archive.
2. Start Transferring Data
The Snowcone is now ready for data transfer. Start transferring data using the NFS mount point, preferably with the rsync command.
Example command:
cd ~/Snowcone/buckets/my-data-archive/
rsync -av /Volumes/data_drive1/* .
DataSync Using Snowcone
NOTE: Before the DataSync Service can be used, the NFS Service (above) must be started first.
1. Start “Sync with Cloud” Service
In OpsHub, go to the Sync with cloud widget and click Start:
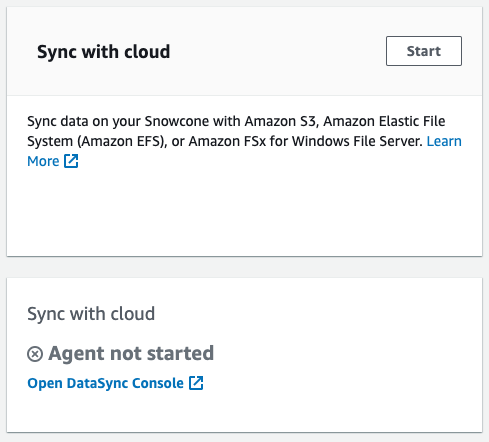
This may launch a wizard. If it does, the Start DataSync agent form is populated with the Device IP address and Physical network interface fields. If the wizard doesn’t launch, the configuration is done automatically.
2. Create an Agent (and Retrieve Key)
Get Activation Key
Agent Address: For creating the agent, the Agent address is required. From the step above, if the wizard launched, the Agent address is in the Start DataSync agent form. If the wizard didn’t launch, find the Agent address in the Virtual network interfaces section (in OpsHub), starting with the last IP address and testing each one.
On the AWS Console: DataSync → Agents → Create agent button. Use these values:
- Hypervisor: Amazon EC2
- Endpoint: (select the region your endpoint is in)
- Activation key: Automatically get the activation key from your agent
- Agent address: (see info above)
Click Get key, and a success message is shown:
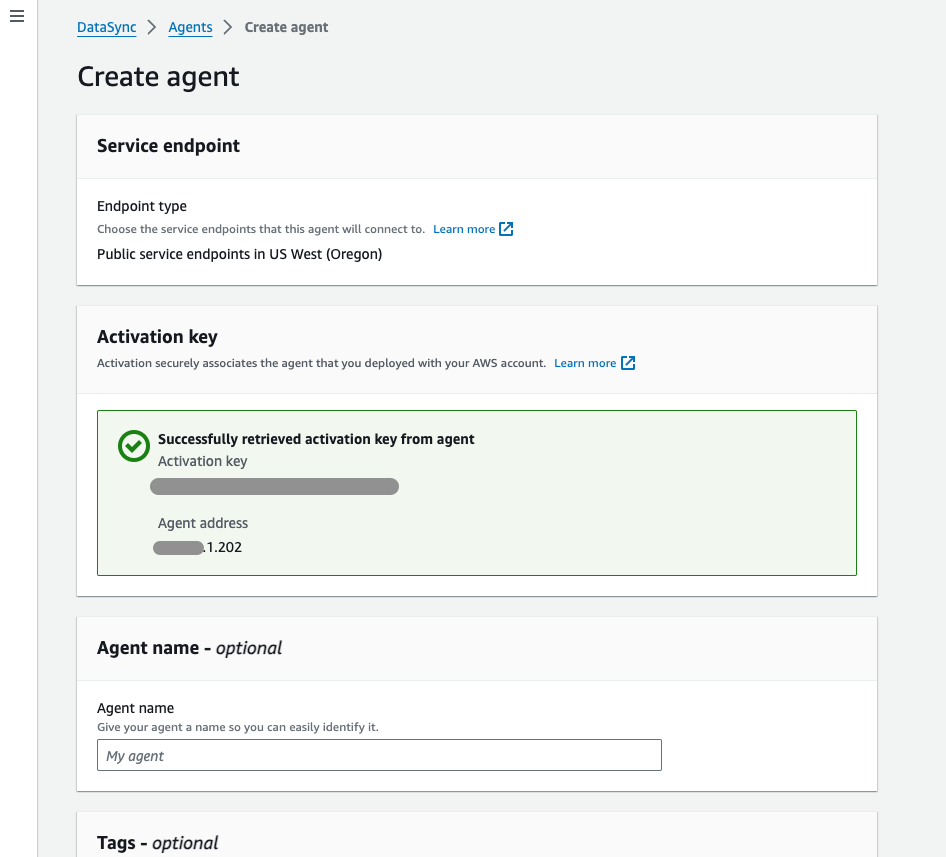
NOTE: Proceed to the next step before the activation key expires.
Create the Agent
Enter an Agent name and click Create agent. A success message will be displayed.
3. Create a Task
Select the agent you just created and select Create task, using these values:
Source Location:
- Create a new location
- Location type: Network File System (NFS)
- Agents: Choose the agent created above
- NFS Server: IP address of NFS Service
- Mount path: Path (can include sub-directory) that the Snowcone device is exporting. For example:
/buckets/my-bucketname-here/myfiles/
Destination Location:
- Create a new location
- Location type: Amazon S3 (for this example)
- S3 bucket: Choose a bucket (NOTE: This bucket can be different from the bucket used for the NFS Service)
- S3 Storage class: Choose a storage class
- Folder: Input a folder name
- IAM role: Autogenerate
Configuration Settings:
These values were used for this example (defaults used unless specified):
- Contents to scan: Everything
- Transfer mode: Transfer all data
- Report type: Standard report
- Report level: Success and errors
- Log level: Log all transferred objects and files
- S3 bucket for reports: Choose same as destination bucket
- Folder (under S3 bucket): transfer-logs
- IAM role for reports: Autogenerate
- CloudWatch log group: Autogenerate
Review
Verify settings and click Create task.
Here’s an example task configuration:

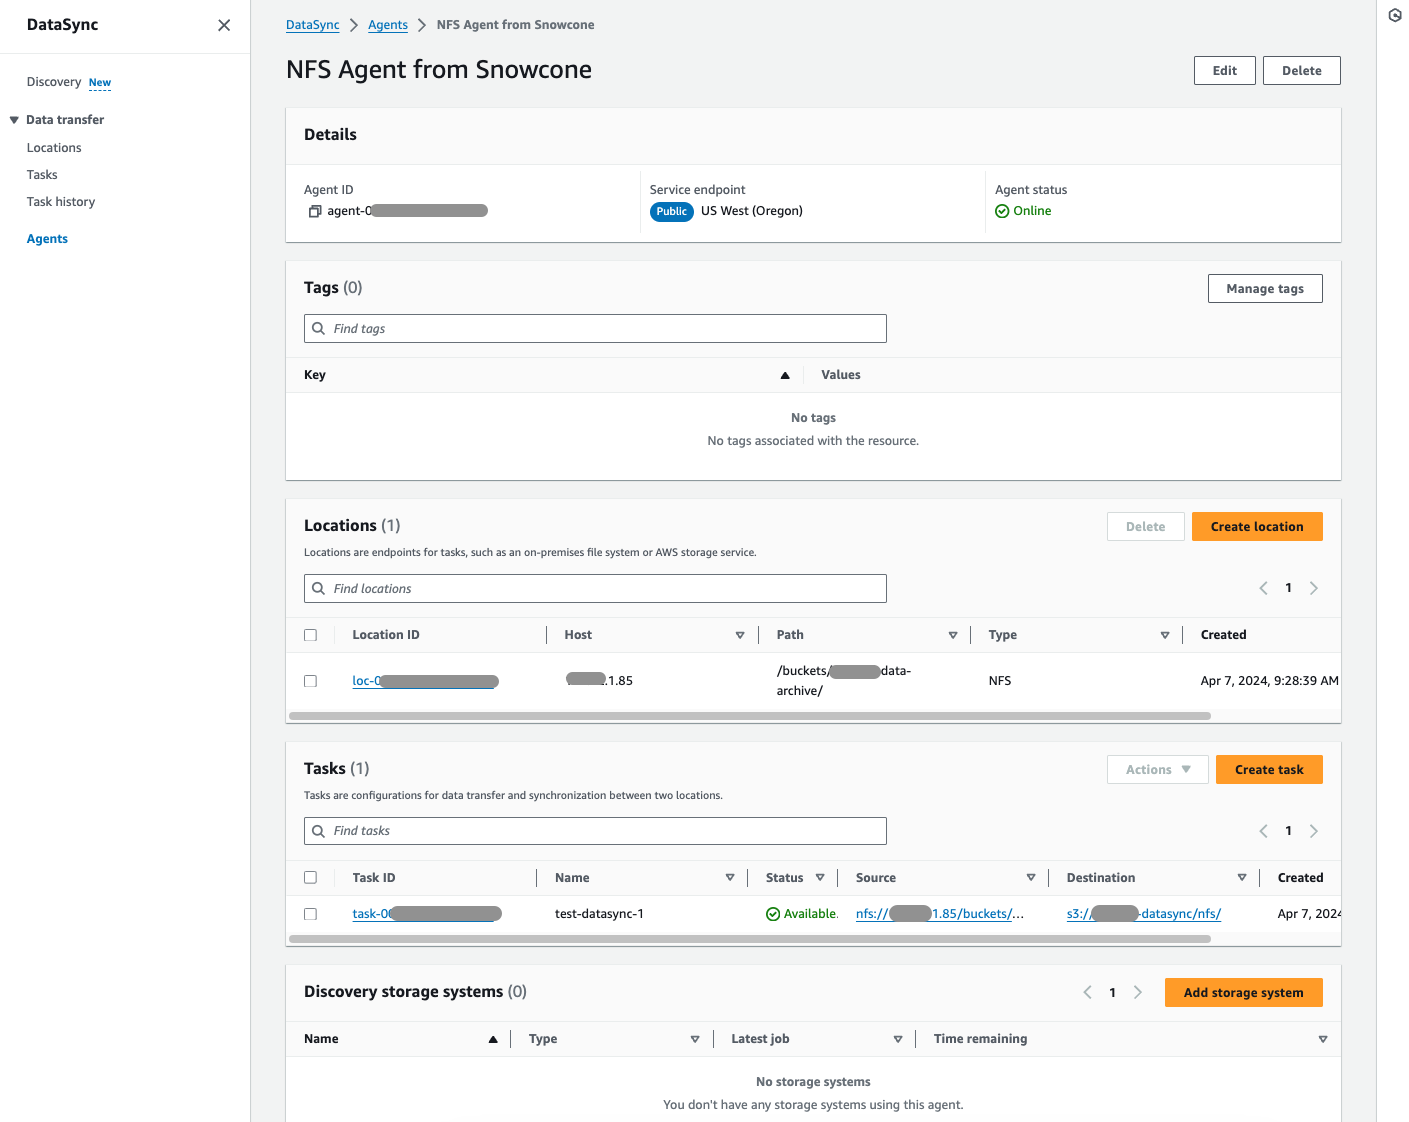
The information can also be verified in the Agent:
Start the Task
With the task selected, choose Start → Start with defaults.
It will take a few minutes. Verify that the transfer has started. The Execution status should say Transferring.
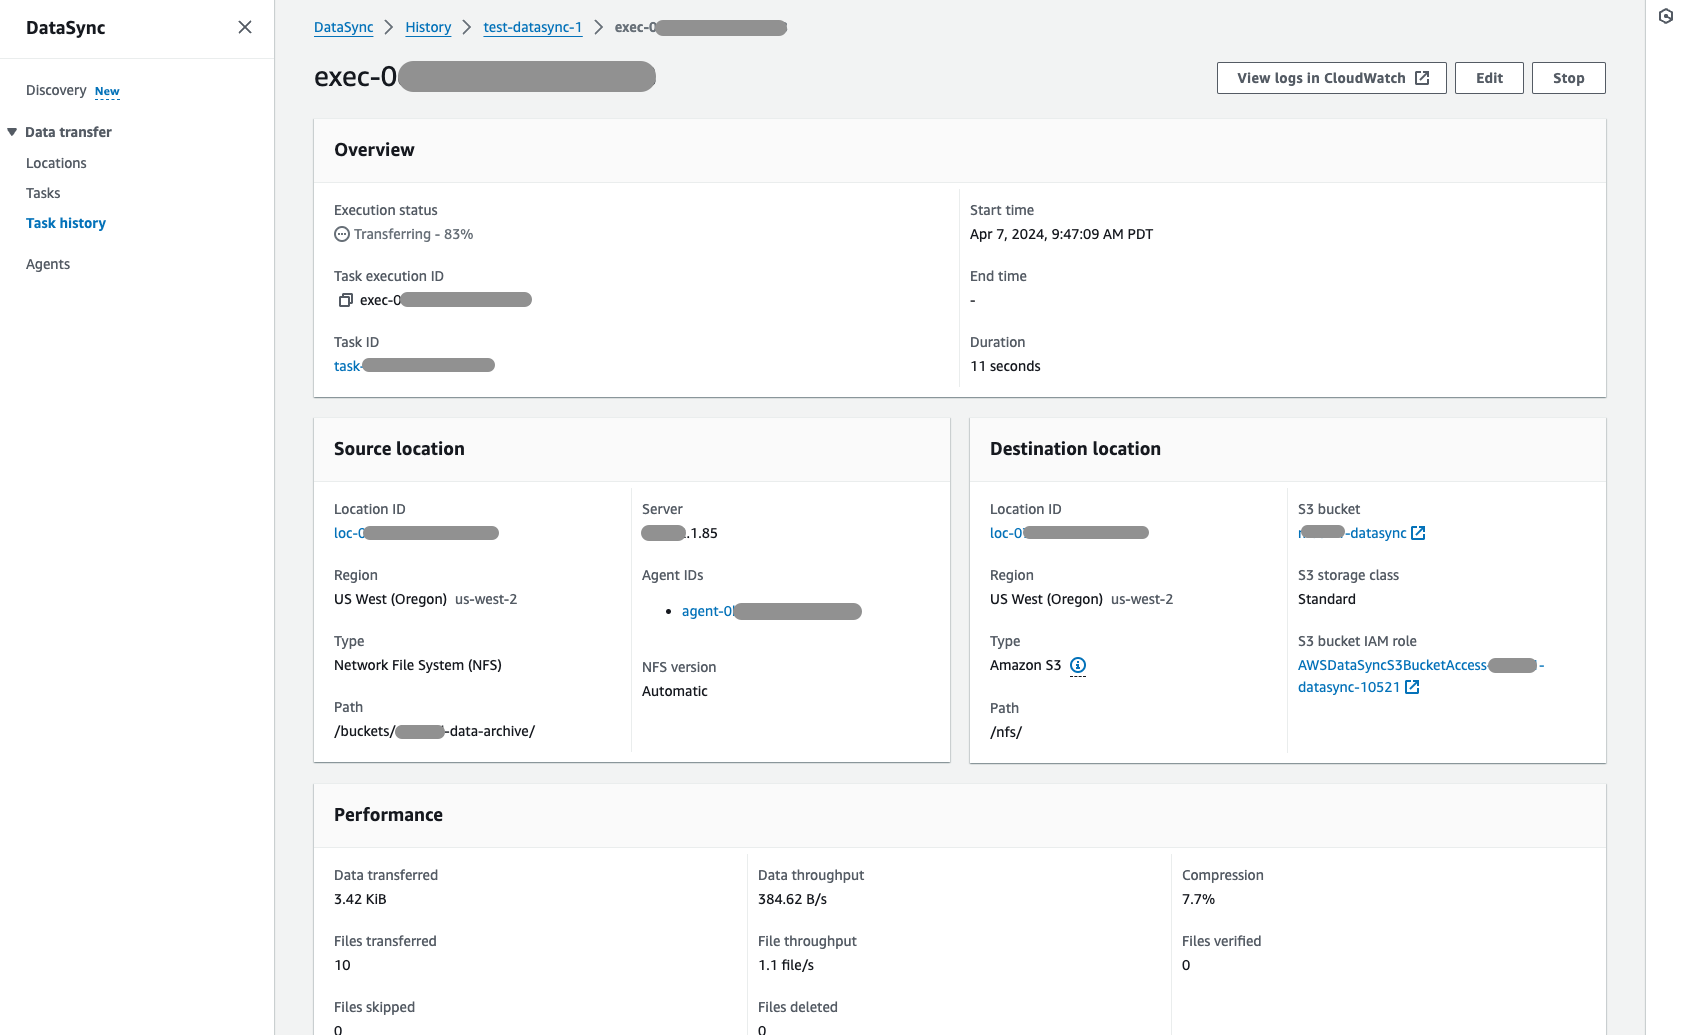
Progress can also be tracked in CloudWatch:
Select the task and in the Logging section, click on the CloudWatch log group. Once in the log group, select Start tailing for a live tail of the data being transferred.
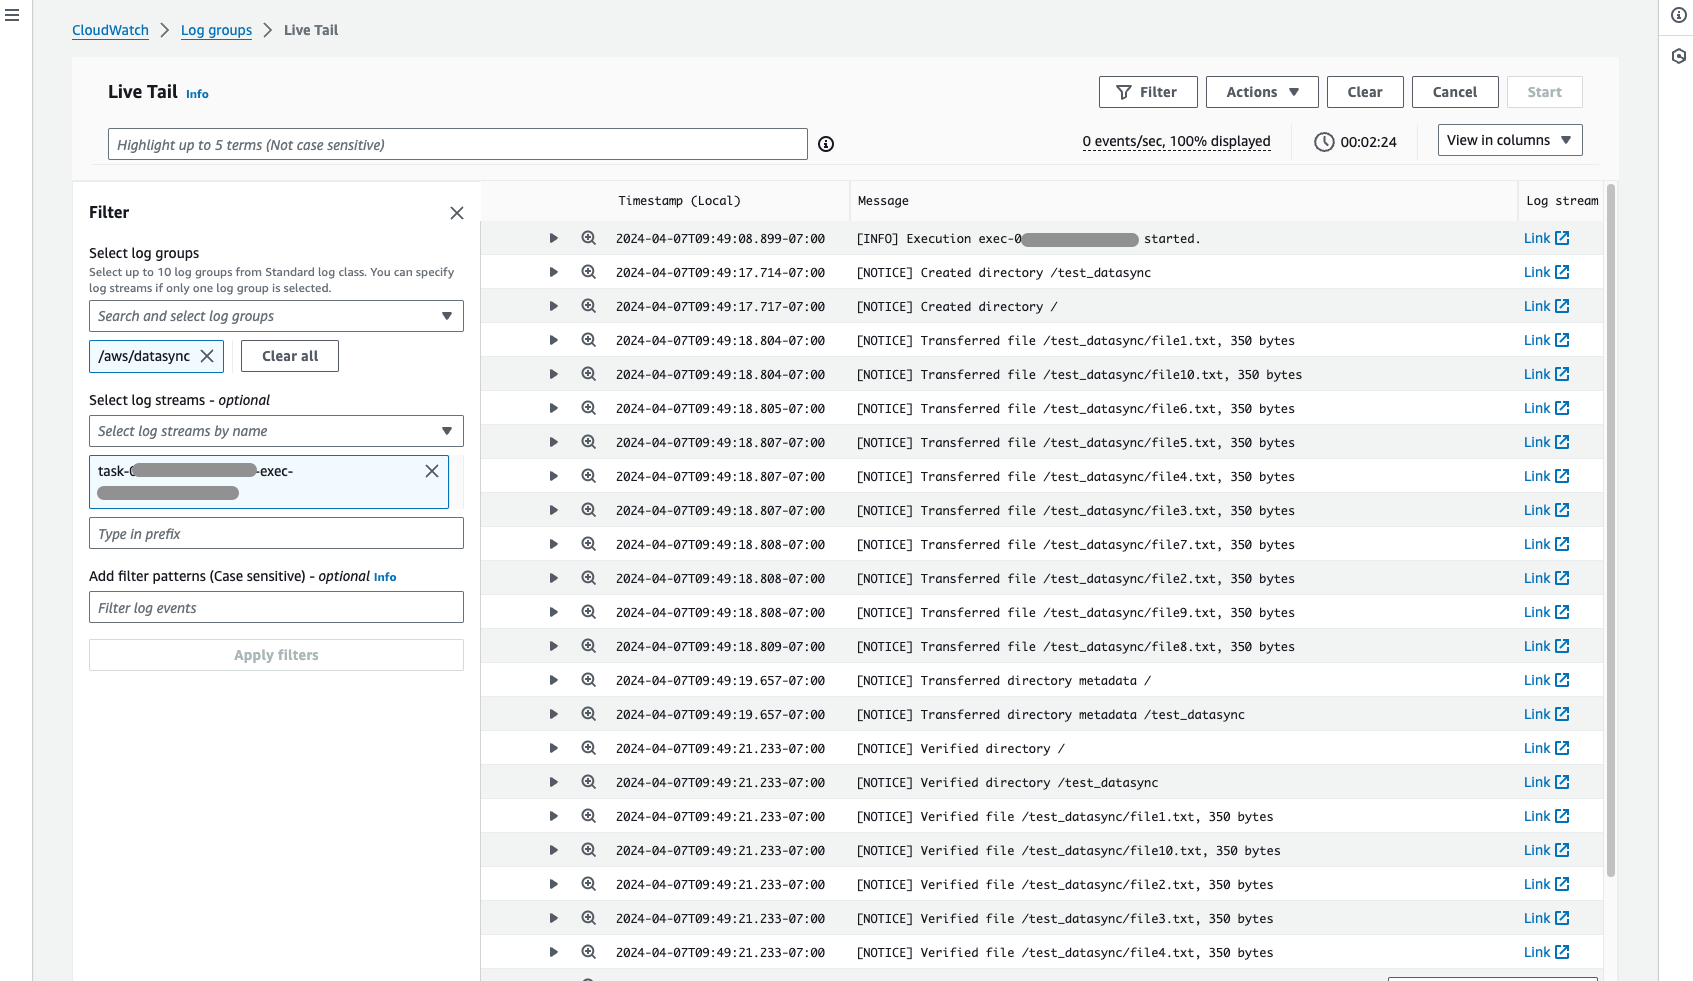
NOTE: The sync is not a continuous process; it only runs when the task is executed. Any new data added after the task runs will require the task to be re-run.
OpsHub Views
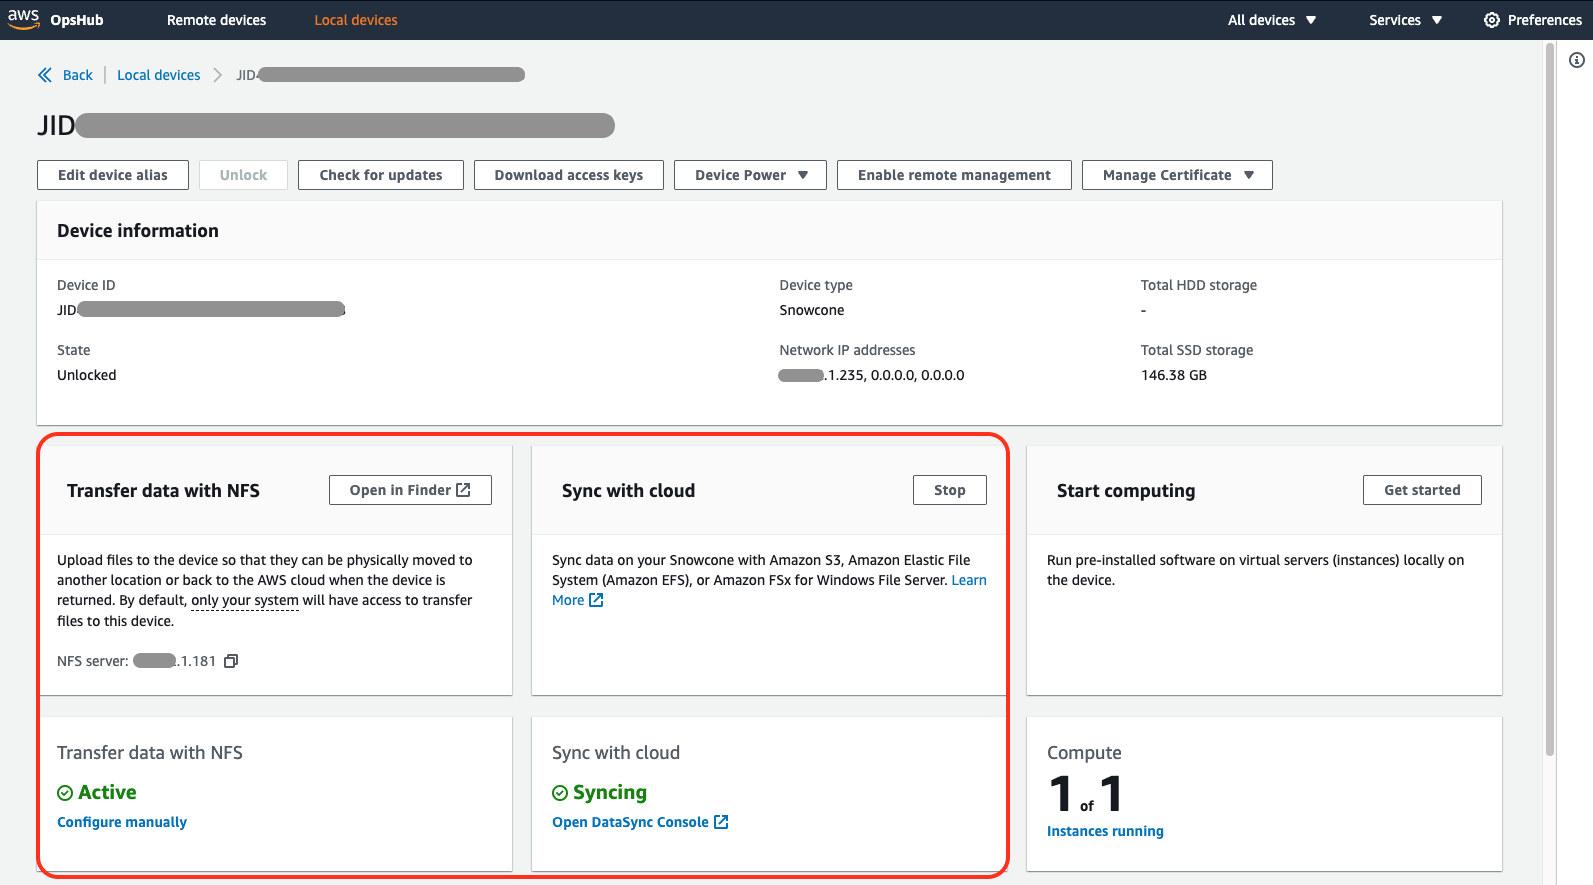
This is what OpsHub looks like with both the NFS and DataSync services running:
Check Capacity
Check capacity using this command line:
$ df -h /Users/myuser/Snowcone/buckets/my-data-archive
Filesystem                                     Size   Used  Avail Capacity iused ifree %iused  Mounted on
192.168.1.181:/buckets/duffield-data-archive   14Ti  1.9Ti   12Ti    15%       0     0  100%   /Users/myuser/Snowcone/buckets/my-data-archive
Key Takeaways
- Planning is Critical: Calculate transfer speeds early to determine device rental duration and costs
- Multiple Transfer Methods: Both NFS and DataSync offer different advantages for different use cases
- Monitoring: Use CloudWatch for real-time transfer monitoring and logging
- Capacity Management: Regular capacity checks ensure you don’t exceed device limits
- Profile Management: Use unique profile names for each unlock session to avoid conflicts
AWS Snowcone provides a robust solution for edge computing and data transfer scenarios, especially when network bandwidth is limited or when you need to process data at remote locations before transferring to AWS.